- Get link
- X
- Other Apps

First of all, I want to give credit for the inspiration to create these sturdy planter box posts from the site = https://www.ishouldbemoppingthefloor.com/2015/05/diy-sturdy-planted-posts.html
However, as I was working through this project, I wanted to add a few additional details to better support your project success...
1) If you are placing these planters on the ground [or on your patio], use thin scraps of wood to shim under the planter to ensure it is level. You don't want to set your post in concrete at an angle or out of plumb.
I placed a straight board across the top of the planter horizontally and put a level on it. As you shim around the base, rotate the board around the top of the planter and make sure it's level all the way around.
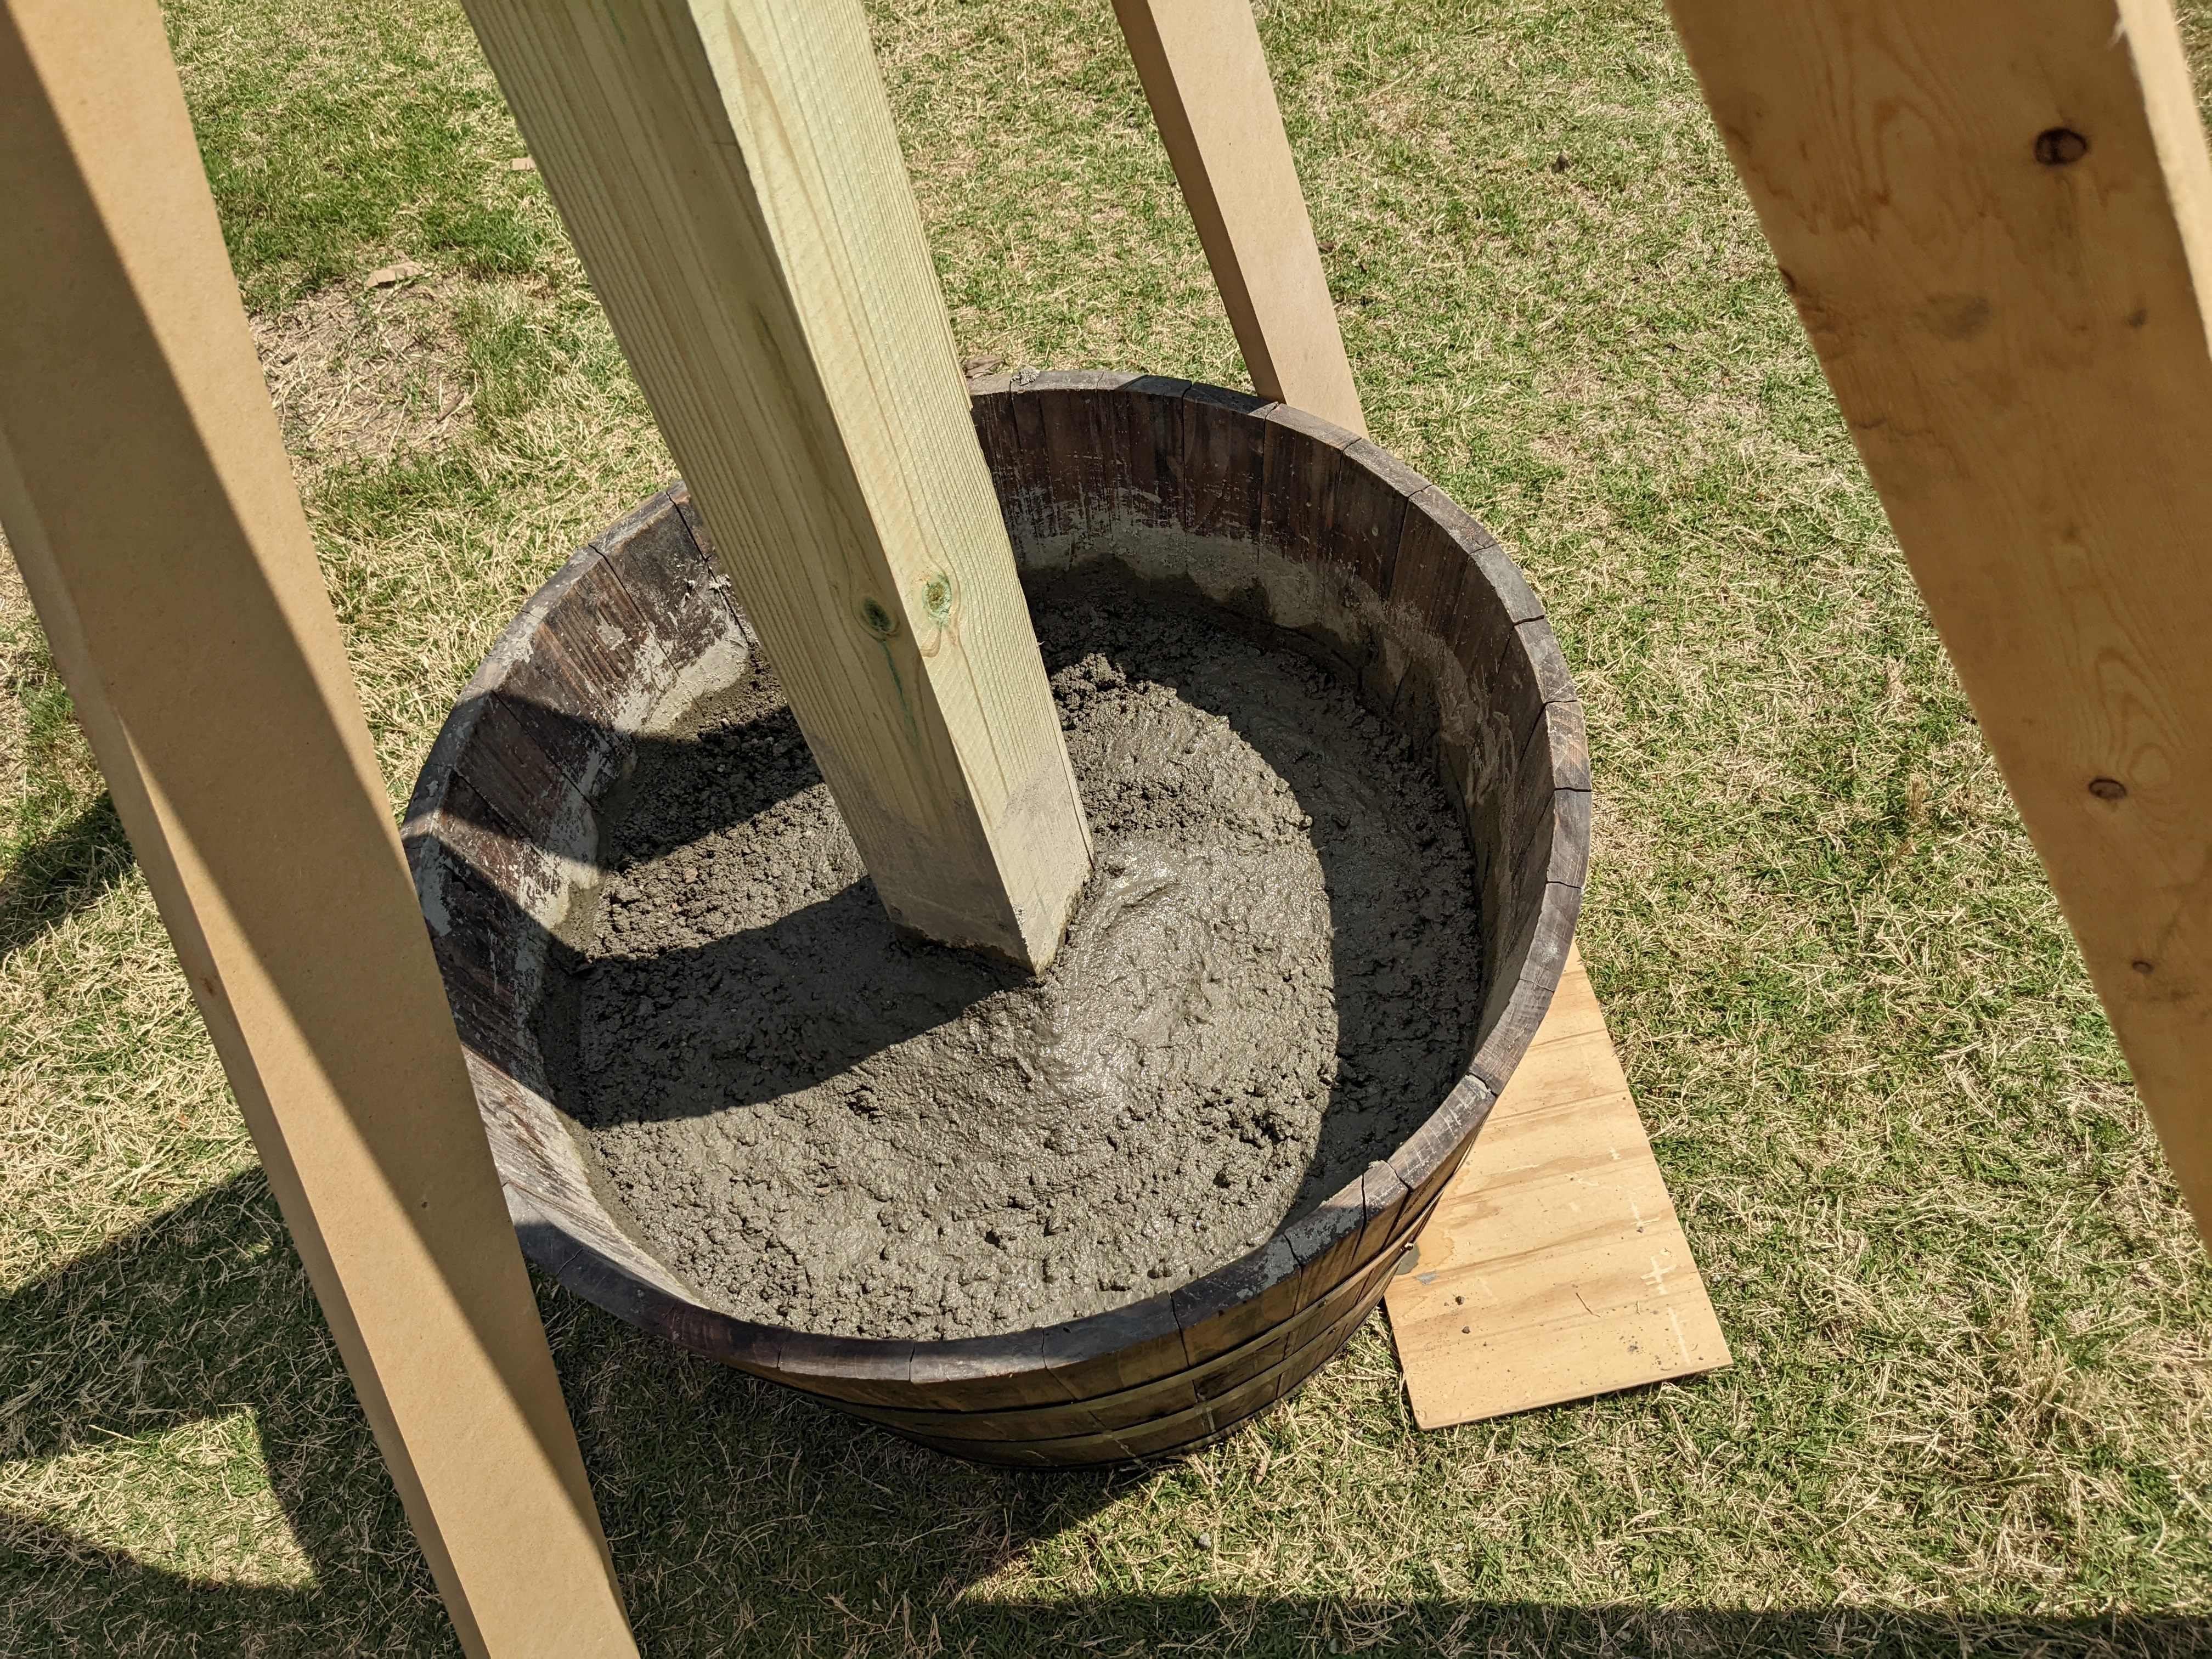
2) As you actively mix in 180 pounds of concrete, get some help! Every few minutes, hold your level vertically up against all four sides of the post to ensure it is plumb. By following step one above and this step, you're sure to have a post and planter that are plumb and level.

3) As your concrete begins to set and hardens, you will experience some "leaching" of dirty water through the planter slats. That's normal - so no worries!


4) Use scrap wood to create a 'teepee' to support your post in the wet concrete. I have 9'3" posts so this is especially important. This is critical to your project success in order to maintain the plumb, perfectly straight posts you worked so hard to achieve. I air-nailed 5-6' long scrap wood on all four sides of the post to hold it in place, especially if a breeze comes up.


Project success = posts that are plumb/straight/level with the planter box


After you find a final home for your planter box posts it is time to permanently shim your planter boxes. Whether you place these on the ground or on a patio [that slopes], you'll want to shim under the planter boxes to make your posts straight/plumb for your lights. I cut some shims out of treated scrap wood, but I also recommend the plastic shims you can buy at any big box store. You will want something that can handle ground contact.

Use your level on the sides of your posts to check the plumb after you place your planters exactly where you want them. Slide the shims under the planter and drive them in with a standard hammer to the desired depth. I use several shims to create a firm base for the planters. It is a combo of art/science to get the planters/posts plumb, but keep working on your shims via trial and error until you achieve project success = plumb posts. I cut off the extended portions of the shims that I did not need.

...and here is the final product = another successful project!

BONUS TIP = Look in your attic to see if feeding the string light cord through your soffit board provides you with an electrical option. I carefully fed mine through and connected it to an extension cord. This enabled me to reach a receptacle and prevent any cords hanging off the side of the house.

