- Get link
- X
- Other Apps


Success starts with a plan. I can't say that I strictly adhere to my original plan design as the project develops, but it does provide me with a good guide and blueprint. This is especially helpful if you have a 'day job' and come back to the project intermittently.

I used 1/2 inch MDF. It is relatively inexpensive and easy to cut while providing a clean uniform look. The downside is that you need to prime/paint a number of times because MDF really soaks up the paint.

I recommend prepainting the wall before adding the millwork. This makes it easier when when do your final coat of paint at the end.

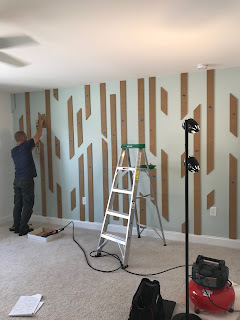
Find the center of the wall for your first board. I ran the middle millwork board almost to the baseboard and the ceiling to define the center point of the design. I cut 45 degree angles on each end to make a cool look. There is no right or wrong way to do your design. Have fun with it and bring your personality to this project!

I precut all of my pieces. What you don't see here is that I laid them out on the floor of my shop [=garage] as I followed my plan sketch. This allowed me to keep track of where I was on the plan design and easily tweak the length of the boards as I went.


Initially, I started from the center board and worked my way out. Note that I'm 'mirroring' the design from the opposite corners of the wall. In other words, if I use a short board to the left-top of the center board, I use a short board to the right-bottom of the center board.


Next, I jumped out to the ends of the wall. I did this to fine-tune my overall spacing between the boards and ensure that my measurements precisely translated from the sketch to the actual wall. The same mirroring design continues. If you jump out to the right-hand end of the wall and hang some boards, jump out to the left and hang them the opposite. Up is down and down is up!


Next I moved from the end to the area between the center board and the end. Again, the enabled me to tweak and fine-tune the spacing between the boards. Even though slight variations in spacing [like an 1/8" here or there] is imperceptible to the human eye, it's important to keep your spacing as even as possible. I use a scrap piece of MDF as a spacer as I move along to keep things consistent.


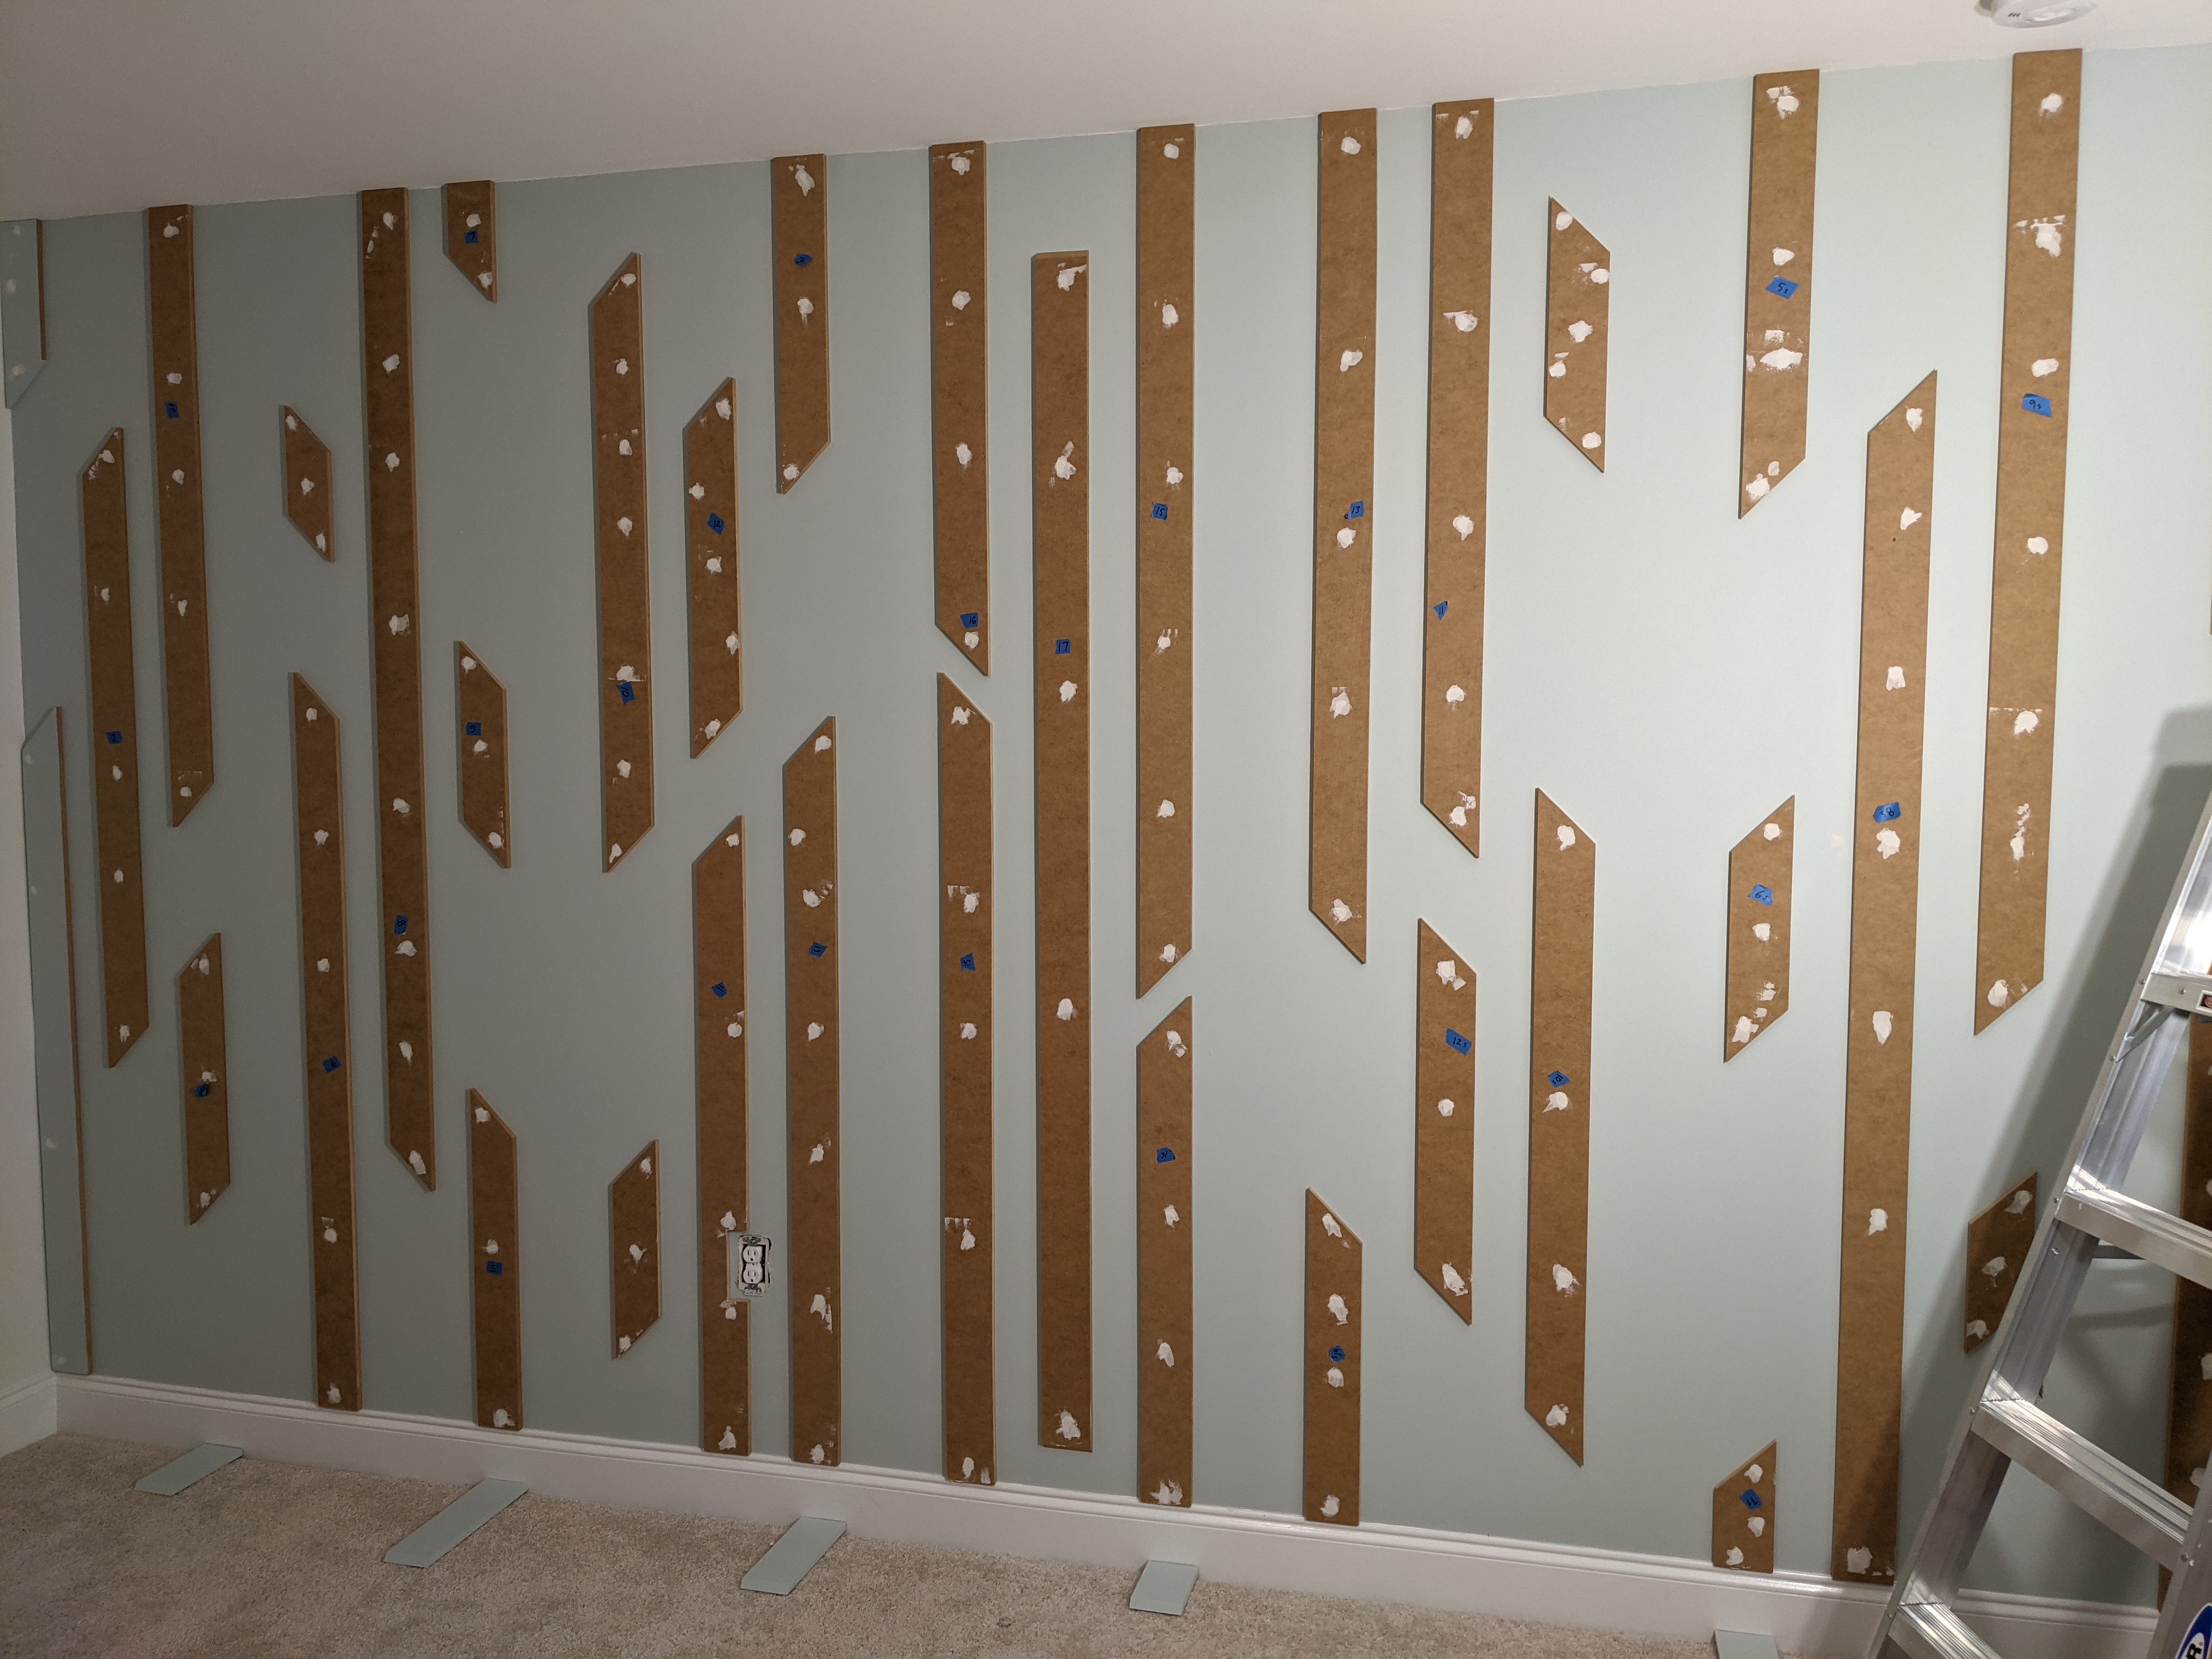
Now I continue to fill in boards. It is cool to see your design coming together on the wall!


Here I'm working with spacer board - just a scrap piece of MDF cut to the right width. You can really begin to see the balance/opposite effect becoming subtlety visible as you progress.

Always use a level to ensure that your boards are perpendicular to the floor and ceiling. The bubble never lies! You will experience some 'wave' to your corners due to how the sheetrock comes together and how they tape/mud the corners. Don't let that throw you off. Especially by starting with a perpendicular center board, you'll stay disciplined in keeping your millwork boards perpendicular.


In the next few photos, you can really see the vision coming together!


I use a pancake compressor and nail gun with 1 1/4 or 1 1/2" finish nails. I don't like to glue boards to the sheetrock if I can avoid doing so. You may have to add a few more nails than you want to, but I still think that's better than glue - especially if you decide to change this design and remove these boards in the future.


Here you tell that I have used a lot of nails [probably overkill]. I use my finger and dab some spackling [drywall compound/mud] to fill each nail hole.


Sand down your spackling using a drywall sanding sponge with very fine grit. Wipe everything down and you're ready to prime a couple of coats on the boards.


Once your primer dries, paint over everything with your finish paint color.


Congratulations! Another project success story!


